Showing posts with label DIY. Show all posts

Thursday, December 15, 2011

{DIY} Holiday Card Display


The holiday cards have started flooding in in these last few weeks, and I'm loving every second of it. Seeing pictures of the families and/or the children always makes me smile, and I love to display them. This year I used an old shutter; I slid the cards into the different slots and angled them. I bought mini closepins to keep them secure in their spots and sat the shutter on top of my buffet. I'm running out of space quickly -- need another for all these cards asap!

**Wish I had a close-up shot of that shutter ;-}
**Hope you are enjoying the holiday season, which seems to be flying by.
**My Christmas cards are going in the mail this weekend and then I'll post a pic of them -- very simple.
**Please ignore my blog header -- busy busy week but I will be fixing it as soon as I can grab a free minute.
**Second grad class done on Friday -- Hallelujah! I NEED to be done, so I can focus on wrapping gifts and buying a few last minute Christmas presents!
**Enjoy the day!

Monday, October 24, 2011

{DIY} Photo Prop Banner


We had some family photos taken with my friend Karen of Karen Carpenter Photography on Saturday afternoon. I made a Christmas banner for one of the shots. This picture on Pinterest was my inspiration.


I used some "Merry Merry" cutouts I made last Christmas, added some sparkly glitter, attached them to a piece of jute and called it a day. I haven't seen any of the banner outtakes yet, but I'm hoping they turned out!


Here's one of the family shots Karen snapped. We went with some nontraditional fall colors :: navy, lime & cobalt blue. I'm always ultra critical of myself, but I love Bo & Dean here and just love that we now have a "nice" family shot of the three of us <3

**Weekends are the BEST -- so sad to see them end :-{
**Maura's party pics coming soon!
**Leaving for a little Vegas getaway with my hubby tomorrow -- prayers for a safe trip would be so much appreciated as I am a nervous wreck about leaving my baby boy!

Tuesday, October 11, 2011

{DIY} Ribbon Bunting


I recently made this simple bunting for a baby shower my sister was attending. She was in charge of making the cake and wanted a cute topper. I didn't have time to create anything digitally, but I knew I could whip up something adorable for her just using some materials I had in my home. The shower she attended had no theme and the sex of the baby was unknown, so I used ribbons of various colors {light & dark pink, pale blue, yellow, lime, and a dotty mix}.


Materials Needed ::
1. A piece of jute
2. 2 skewer sticks
3. Ribbon of various colors, sizes and textures
4. Scissors

Using a piece of jute, tie the ribbons tightly onto it and then cut the ends at an angle for a polished look. Anything goes here -- alternate colors until you are satisfied with the look. Tie jute onto skewers, trim ends of jute, and place ends of skewer sticks in cake. CUTE, SIMPLE, & THOUGHTFUL touch.

TIP :: Anytime you use ribbon and have extra scraps -- keep them! This entire bunting was made from scraps I keep in a jar on my craft table. I have used that jar countless times. Nice ribbon is expensive, so I'm all for getting the biggest bang for my buck when working with it!

**Three day weekends are the greatest invention ever. Just having one extra day at home makes a huge difference in so many ways.
**Hope you & yours had a wonderful weekend with your loved ones -- I know I did!

Tuesday, July 19, 2011

{DIY} Fabric Wall Art


I've been on a coral {a pretty cross between pink & orange} kick lately -- it's such a beautiful color and especially looks pretty in the summer.

Enter my upstairs bathroom and the big empty wall that stares me down every morning. It definitely was in need of a little dressing up, so combine that need with my love of coral and you've got yourself some fabric wall art.

Materials ::
1. Fabric quarters from Joann's -- ~ $1.50 each
2. Textured scrapbook paper -- ~$.75
3. 3 of my favorite frames from IKEA called FJALLSTA {who comes up with these crazy names anyway???} -- $12.99 each

Total cost for wall art = $43


Rather than search for pictures, which can be pretty pricey, I was able to customize my wall art to my taste by just adding fabric to frames. Not to mention it was a quick and simple DIY project.


I also added some fabric wall art in my family room this past spring. I used the larger FJALLSTA frame and some fabric I had already purchased from Joann's and had used as a spring table runner in my dining room. It compliments the splashes of turquoise in the cushion top on our built-in storage bench.

**If you're a DIY girl too, check out some of the fun DIY projects I've compiled on Pinterest. I'll be adding to this board as I find different projects I like and want to try.
**Up next on the DIY front? A gallery picture wall -- it's in the very early stages {and I mean very very early ;-}
**Back to coral for a minute -- I'm hosting a girls night next week for some old high school friends, and it's going to be all about CORAL! Stay tuned! If you missed my coral & gray pinboard, check it out! Some pretty inspiration if you love this gorgeous color too!

Monday, July 18, 2011

{DIY} Chevron Rug


This week I have a few DIY projects to share with you. Some are complete and others in the works, but either way, you should be able to get a good sense of what I've been working on since school let out for the summer. First up is the chevron rug I made for my kitchen. I have a pretty traditional style and my home reflects that; however, I do like a little hint of unexpected here and there . I'm not usually a girl that gets hung up on trends, BUT chevron is one trend that has caught my eye, and I really love the look of it.

I read House of Smith's DIY chevron rug post among a few others to help me create my own rug. Let me just say, I definitely took a more difficult approach by taping out the chevron pattern with painter's tape rather than making a vinyl pattern. I thought it would be easier to tape -- I was WRONG -- should have used a pattern. A lot of elbow grease went into making this rug.


Materials ::
1. EGEBY rug from IKEA @ $29.99
2. Valspar black "porch and floor" latex paint & sponge brushes @ ~ $15

This rug has a lot of nooks and cranies, so I found that a sponge and tapping method worked better than a paintbrush. I really had to work the sponge into the grooves to get the coverage I wanted.

**I searched high and low for chevron rugs/runners for my kitchen before deciding to make my own. Not only are they hard to find, but they cost a pretty penny. I couldn't find any that cost less than a couple hundred dollars. This entire project cost me around $45, which is totally doable -- you just have to be willing to invest a little sweat equity.


Chevron rug COMPLETE! At first I was a little disappointed in my chevron stripes -- they were looking a little severe and not as slanty as I would have liked. However, once the rug was complete, and I placed it on the floor in front of my sink, it started to grow on me. I really like it! It definitely adds that little pop of trendy I was looking for.

**You can get a little peak of my new kitchen floor in the above pic -- I haven't shared pics yet because I'm waiting for all my kitchen projects to be complete.
**IN THE WORKS ::
~ Painting the kitchen island {yes, gonna paint the island but keep the other cabinets natural -- LOVE that look}
~ Kitchen work station {I've himmed and hauled over this, and contemplated other ideas, but I'm sure this is what I want now and am ready to make a move!}
**HOT week ahead -- thankful for the air conditioning and the swim club so we can cool off! STAY COOL!

Tuesday, June 21, 2011

{DIY} Homemade Cards

Yes, I'm still on a card strike. And you know what? I'm actually really enjoying making my own cards. They're more personal and can be made to coordinate with the gifts that accompany them. This is one I just made for a good friend that celebrated her 30th birthday {with a very fun surprise party I might add!}. I played off the dark pink polka dot ribbon I wrapped around her gift.

**Square cake plate {there were two so I snagged one for me too -- I'm so weak} -- HomeGoods
**I'll be featuring another wedding tomorrow -- MINE!
**I've got some "real parties" to share with you, but I've been so busy that I haven't had the opportunity to put the posts together -- SOON!
**I've got a super simple summer dinner for ya'll {minimal prep time & quick clean-up too!} -- post later this week
**School's out & it's officially SUMMER -- off to the pool to soak up some sun with my baby boy!

Tuesday, May 31, 2011

{DIY} Yarn Wreath


What a weekend -- we were here, we were there, we were everywhere. Somehow I managed to squeeze in a little craft time and tried my hand at making a wreath. I choose a heathered gray yarn and made two little rosettes out of some fabric I gathered along the way. Lastly, I added some black & white polka dot fabric that I folded, ironed and tied to resemble ribbon.


Okay, okay -- I know they aren't the greatest looking rosettes, but I'm going easy on myself since this was my very first attempt at making them.

**It was majorly time-consuming wrapping that yarn around the wreath form...grrr.
**I burnt my finger with hot glue about 9 times before I finally finished making the rosettes -- OUCH!
**Now that it's all said and done, I'm loving the look of my new wreath on the door leading from my kitchen into my mudroom. All in all, well worth the time!

*****************************************


MEMORIAL DAY WEEKEND...

From a major house project {pics soon}, to a farmer's market trip, to hosting a little Mexican feast for the 'rents, to an amazing message at Joy Fellowship {that I so desperately needed to hear}, to a backyard bbq at our friends' home, to a trip to the swim club for the first time, to a Memorial Day family dinner...well, let's just say we had a busy weekend over here in NJ! While busy, I'm very, very thankful to have had three days to spend with my favorite people. I even managed to snap a few pics ;-}

Someone's having loads of fun at a backyard bbq...


...and couldn't get enough of all the big boy bikes that he very quickly learned to control -- YIKES!


Ginger was about the only one that relaxed all weekend {and Bo for a little cat nap while our sweetie pie snoozed upstairs}. Get a load of this dog -- seriously?!?! She thinks she's a human ;-}


A chlorine cocktail to kickoff summer never hurt anyone...


...neither did a little sandal & diaper swim in the pool at Mommom & Pop's house.


That is until the diappy got so huge from swelling with water that someone couldn't take it anymore...


...so he said the heck with it and gave everyone a show before ending the night with...


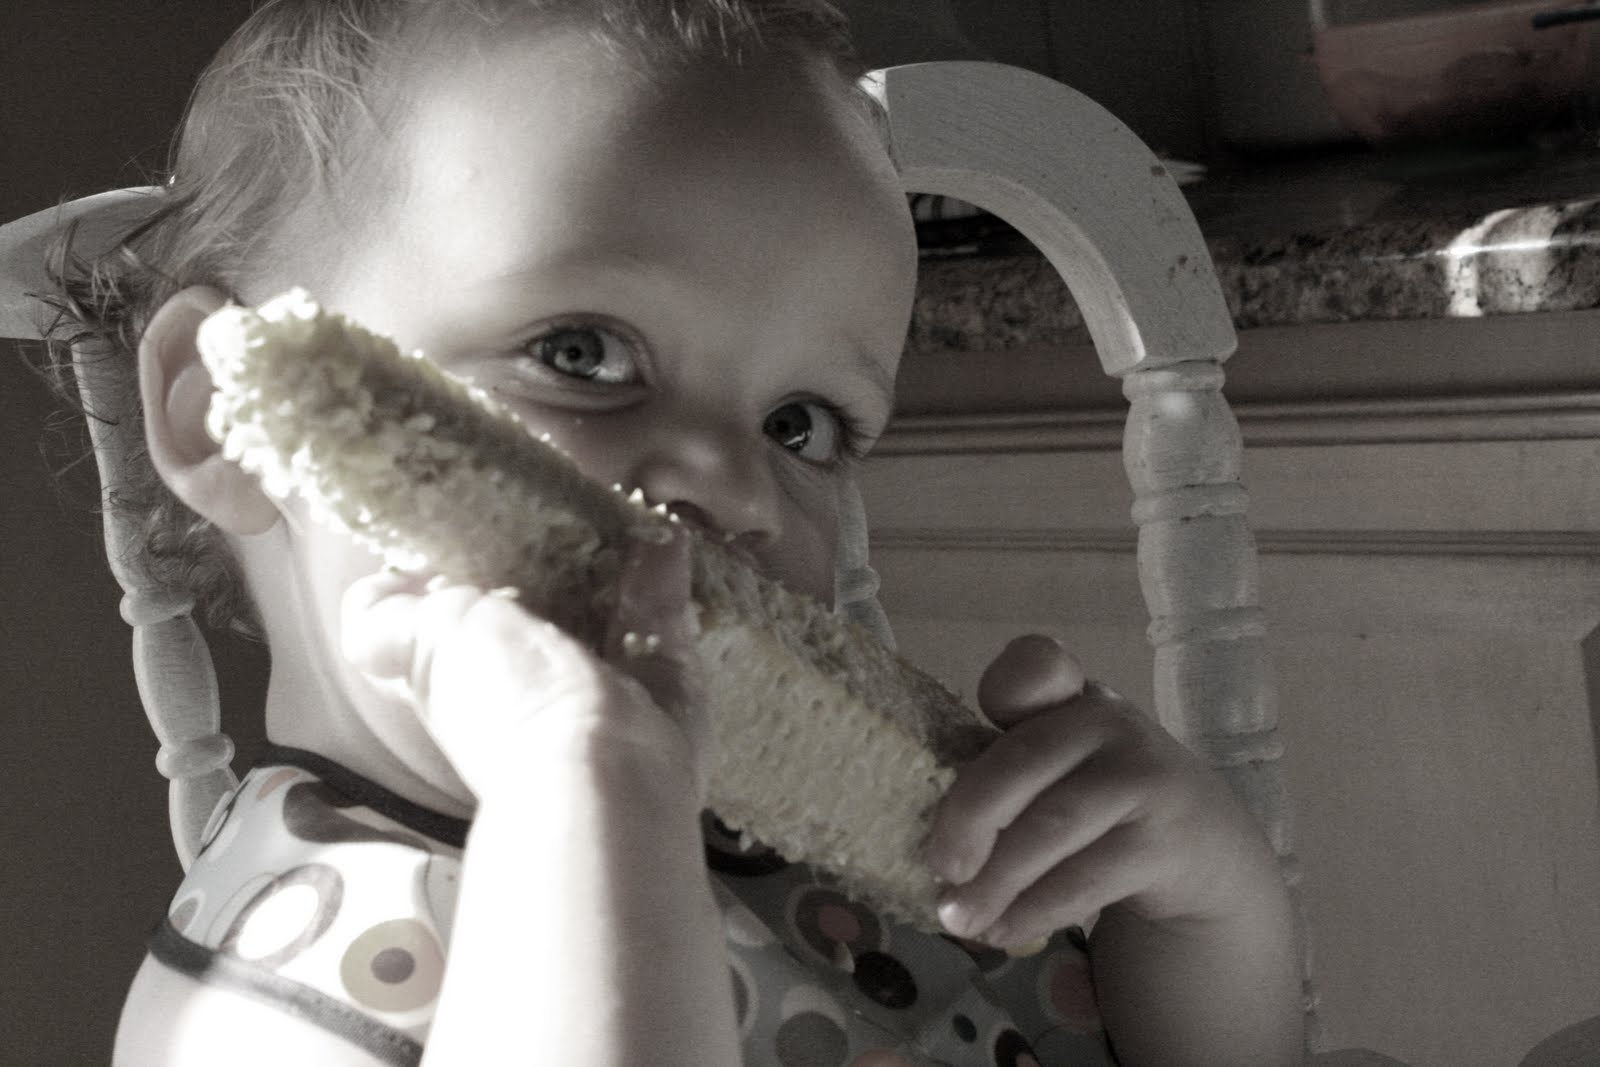
...a little, sweet corn on the cobby -- Mmmmmm ;-}

HOPE YOU ALL ENJOYED YOUR WEEKEND!

Thursday, December 16, 2010

{DIY} Card Display


The flood gates have opened and the Christmas cards have begun pouring in! I get excited each day as new cards arrive. My fav? Seeing the pictures of the families, especially the kids. I love to look at those little blessings until at least New Years Day.

So when you have a small home, the question becomes, where do you display ALL of these sweet smiling faces??? This year I decided to create my own DIY card display. A little cheesy, but it gets the job done.

I have a small wall space in my kitchen that is open. I cut about a 3-4 foot piece of red ribbon with lime ticking and attached it with double-sided tape to a shower hook {kinda weird but it works}. Every time a new Christmas card arrives in the mail, I attach it to the ribbon with double-sided tape. The picture above only shows a few cards, but this ribbon is now almost full! The cards run almost the entire length of the wall.

Easy and expensive fixes -- that's what it's all about!

Thursday, October 28, 2010

{DIY} Sparkly Spiders


Here's a quick, last minute tutorial for the sparkly spiders I made to decorate my W&W dessert table last weekend. These are super simple and would be a fun Halloween"ish" craft project to do with the kiddies.


Materials Needed: Sparkly stems {aka pipecleaners}, sparkly craft balls, scissors, needle & thread or glue {I bought my stems and craft balls in the dollar bins at JoAnns}.

Step 1: First, I took two craft balls and using a needle and thread, I stitched them together {not pictured}. If you're working with kids, gluing them together might be easier and safer, just allow time for drying before moving on to step 2.

Step 2: Snip one stem in half so that you have two smaller stems, equal in size.


Step 3: Bend the stem and wrap it around the center of the two craft balls, or the body of the spider.


Step 4: Repeat step 3 with the second stem.


Step 5: Bend the stems slightly to shape the legs of the spider. ****You could always add a few more stems to give the spider more legs.****

There are so many cute ways you could use these sparkly spiders. Just to name a few:
~ Halloween/party decorating
~ Attach a magnet and hang on your refriderator
~ Decorate a little girl's headband
~ Make a pin

And the list goes on and on!

COMING SOON:
***Thanksgiving invites/wrap labels
***Thanksgiving tablescape & menu details
***Party styling for Nicole's Baby Shower
***Tortellini, Spinach & Tomato Soup {this might be my fav!}
***Pumpkin Chocolate Chip muffins
***Small kitchen project {almost done convincing Bo ;-}
***GIVEAWAY...STAY TUNED!!!***

Sunday, October 17, 2010

{DIY} Sparkly Spiders


Just a little peek at my sparkly spiders! I made them this weekend, and they were super simple. Tutorial coming soon {this could be a fun little craft project to do with the kiddies}! You will see these little guys again in the near future {W & W}!

They would have been much more GLAM if I had used black beads....ahhhh....if I only had the time!

Make it a great Monday :-}